Specify the bottom-rail interface before choosing a profile
A bottom rail is not just a length of metal at the base of a railing bay. Depending on the system, it may be the lower member of a framed infill panel, a channel that captures the infill edge, or a separate rail that connects to the posts and supports another component. Those routes create different dimensions, connectors, installation sequences and replacement options.
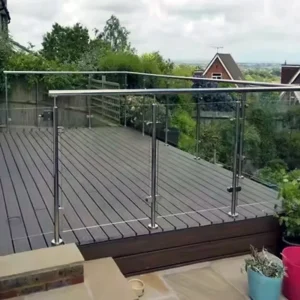
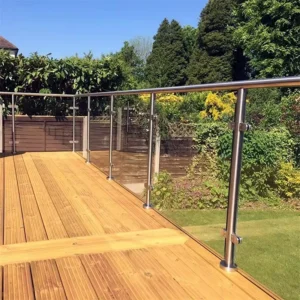
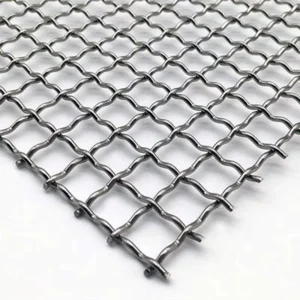
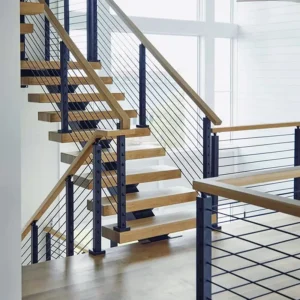
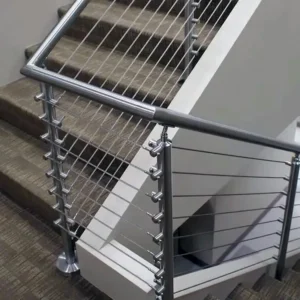
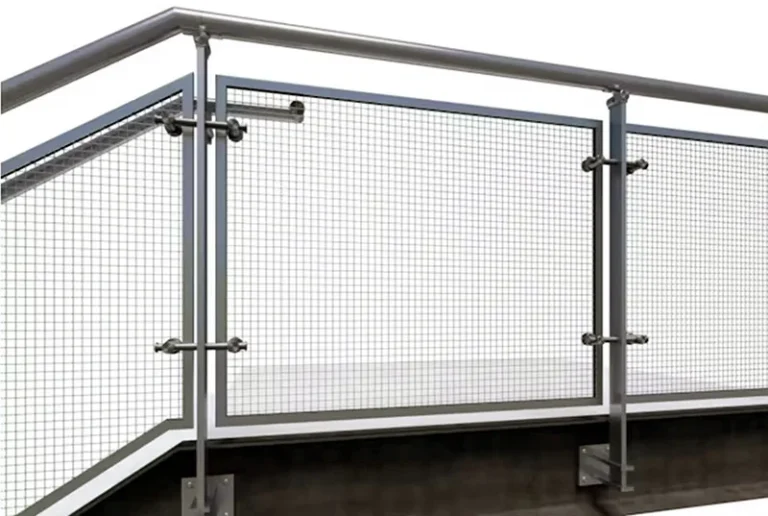
The featured image shows one reference relationship: framed wire-mesh infill between posts, with a visible lower frame member and side holding points. Your quotation should define the proposed relationship for your project rather than assume that the visible arrangement fixes the material, dimensions, connection method or structural performance.
Choose the interface route first
Start with the infill and the way each bay must be assembled. Three common design routes can look similar in an elevation but are not interchangeable in procurement.

Framed infill panel
The mesh or other infill is already bounded by its own frame. The visible lower member belongs to that panel. The key purchase decision becomes how the framed panel connects to the posts: through-holes, clamps, brackets or another project-specific holder. This route can simplify panel handling, but the frame outside size, side connector allowance and removal direction all need to be coordinated.
Infill captured by a rail or channel
The lower profile receives the infill edge directly, sometimes with a liner, insert or separate retainer. Profile geometry and infill thickness must be selected together. If the opening, liner and panel edge do not match, the installer may be unable to seat the infill or may create unwanted movement. Request a section detail that identifies every part touching the infill.
Separate bottom rail with attached infill components
The rail connects post to post and may carry pickets, intermediate supports or attachment points for a panel. Here the rail-to-post connector and the infill-to-rail connector are separate interfaces. A quotation that names only the rail profile is incomplete because it does not establish how the lower assembly is fixed, adjusted or finished.
Six decisions that change the supplied package
| Besluit | What to compare | Consequence of a mismatch | Field to show in the quote or drawing |
|---|---|---|---|
| Lower-member role | Panel frame, captured channel or separate rail | The wrong components may be priced around a different assembly sequence | Named interface route and a section/elevation reference |
| Infill relationship | Framed panel, loose panel edge, pickets or other infill | The rail opening, retainers or fasteners may not fit the infill | Infill type, edge condition, thickness or frame outside size |
| Na het tot stand brengen van de verbinding | Internal bracket, external clamp, through-fixing or fabricated end | End preparation and installation access may conflict | Connector form, hole pattern, fastener access and included parts |
| Bay geometry | Level run, stair pitch, corner, end bay and changes in direction | Straight-cut assumptions may fail at rakes or junctions | Bay schedule with angles, run breaks and end conditions |
| Tolerance strategy | Fixed-size panel, adjustable holder or site-cut rail | Small opening differences can accumulate across a run | Nominal opening, measurement basis and permitted adjustment |
| Exposure and finish | Indoor/outdoor location, wetting, contaminants and finish match | A visually matched assembly may still be unsuitable for the environment or hard to maintain | Proposed material/finish, isolation details and cleaning access |
Measure each bay as an interface chain
Do not reduce the request to one overall railing length. The opening between posts, the framed-panel outside size, the connector or adjustment allowance at both sides, the lower clearance and the rail/profile geometry interact. Existing work may also be out of square, so record the opening at more than one position when the panel or channel fit is sensitive to the final opening.

For replacement or retrofit work, send clear photographs of the post faces, the existing lower connection, the infill edge and any access restriction. A tape measure in the photo can help start the discussion, but final fabrication dimensions should follow the agreed measurement responsibility and approved drawing.
Define the package boundary
A useful bottom-rail quotation separates the parts that are often blurred together:
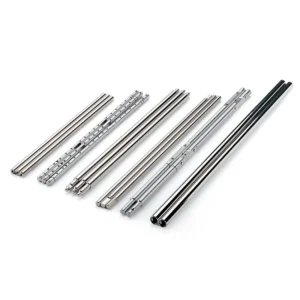
- Primary lower member: the framed-panel lower edge, channel or separate rail profile.
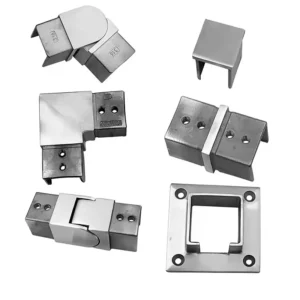
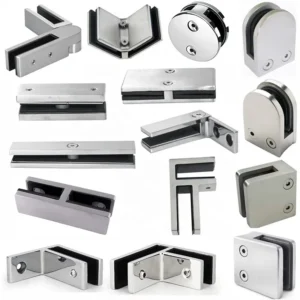
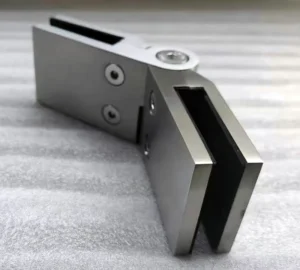
- Post-to-rail or post-to-frame connectors: brackets, clamps, holders, sleeves or prepared ends proposed for the selected route.
- Infill-retaining parts: liners, inserts, clips, cover pieces or fasteners where the infill meets the lower member.
- Consumables and loose fasteners: identify what is included, what is installation-specific and what must be sourced locally.
- Site structure and anchorage: posts, base plates, anchors and the supporting substrate are separate responsibilities unless the quotation expressly includes them.
The bottom rail by itself does not establish the capacity or compliance of the completed guard. Post spacing, anchorage, infill, connectors, rail continuity and the supporting structure must be checked as one project-specific system by the responsible designer or engineer.
Level runs, stairs, corners and end bays need separate details
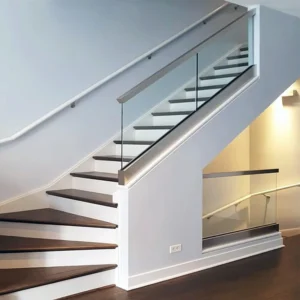
A repeated level bay may use one cut and connector logic, while a stair bay introduces rake angle, end-cut and infill-orientation questions. Corners can be resolved with independent terminating bays, a shared corner post or a project-specific junction. End bays also need a clear finish: exposed profile end, capped end, return or connection into another component.
Mark every change in direction on the plan and identify whether dimensions are centreline, face-to-face or clear opening. If the installation sequence limits access for a screw, clamp or inserted panel, flag that before the connection detail is frozen.
Start the RFQ with what you know
You can begin with a sketch, photos and estimated quantities. The first review is more useful when it includes:
- project location and indoor/outdoor exposure;
- infill type and whether it arrives as a framed panel;
- post profile or clear photos of the post face and available connection area;
- level, stair, corner and end-bay quantities;
- approximate post-to-post openings and required lower clearance;
- preferred visual finish and any adjacent material that may require separation;
- the design criteria, local code basis and drawing responsibility for the complete railing system.
Before ordering, the proposed quotation or approval drawing should return the interface route, profile/section reference, material and finish, connector type, infill-retaining parts, bay dimensions, adjustment method, included fasteners, exclusions, packaging units and any dimensions that remain for site confirmation. That gives buyers a common basis for comparing two offers instead of comparing profile names alone.