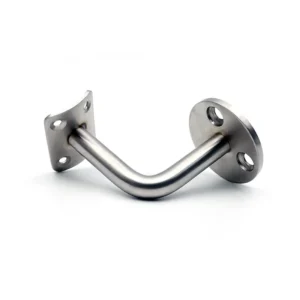
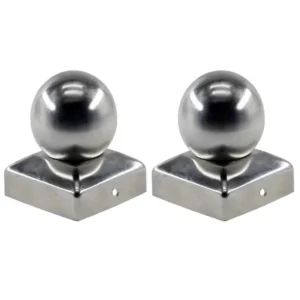
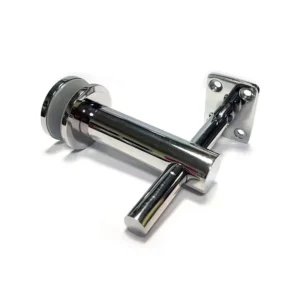
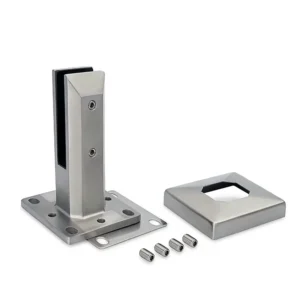
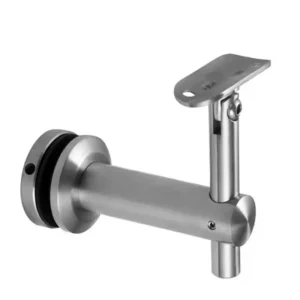
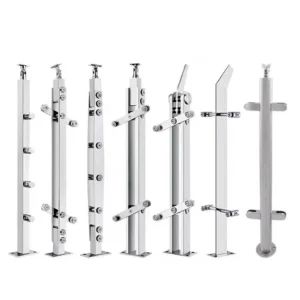
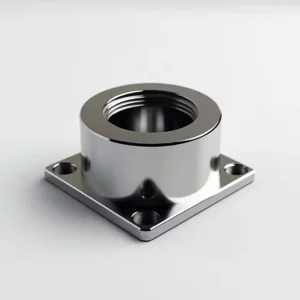
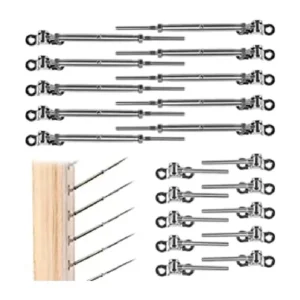
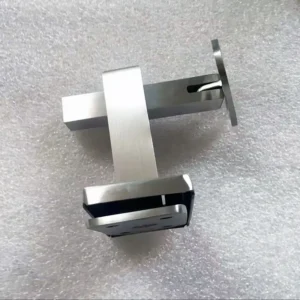
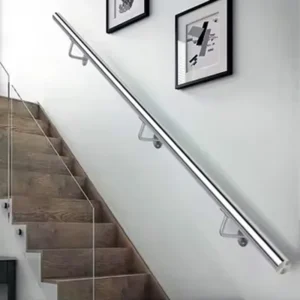
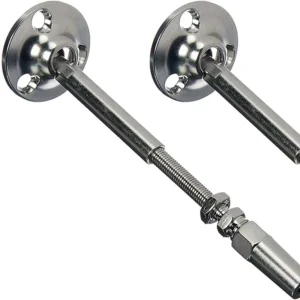
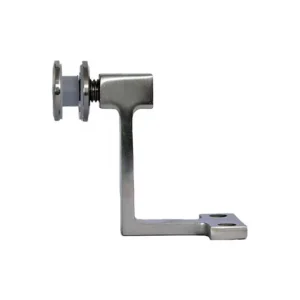
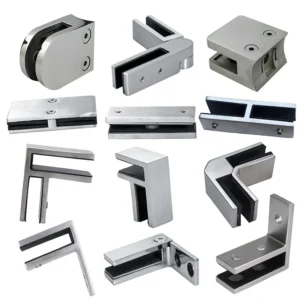
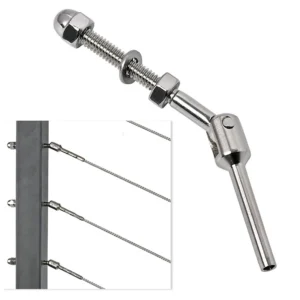
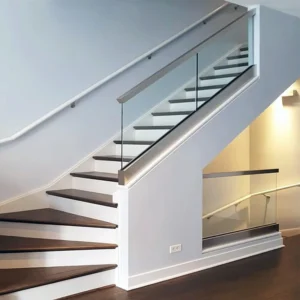
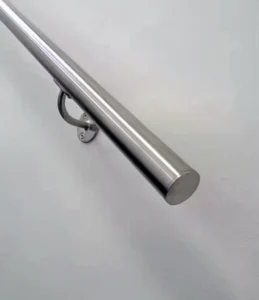
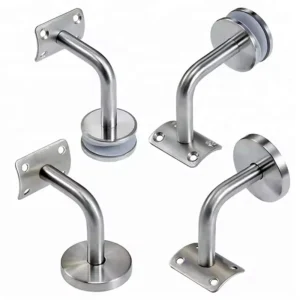
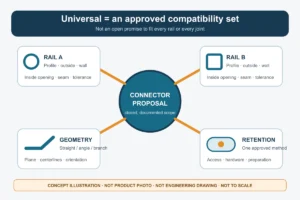
A top-mount handrail bracket works only when four things line up: the rail profile it carries, the saddle or connector shape that mates to that profile, the support it sits on, and the attachment detail between bracket and support. Checking those as one interface, rather than as separate parts that each look right, is what prevents a bracket that bolts neatly to a post top but cannot hold the specified rail section or cannot be fixed and inspected once the rail is in place. A top-mount bracket is one that sits on the upper face of a post or other supporting member and carries the rail above it, so the load path runs down through the bracket body into the support rather than sideways into a wall.
Pitch is the other condition that changes the answer. A bracket intended for a level run will not follow a stair or ramp slope unless its documented adjustment covers that angle in the direction the rail actually turns.
Match the bracket to the rail profile
Treat the rail profile, the mating saddle or connector shape and the attachment detail as a single interface, and confirm all three before the bracket is selected. A bracket that fits the support can still mismatch the rail section, and a bracket that cradles the rail correctly can still leave the connection between the two undefined on the drawing.
The physical reason is simple. The saddle on a top-mount bracket is shaped to one rail geometry: a curved cradle for round tube of a given outside diameter, a flat or channeled seat for a rectangular or flat-bar rail, a formed socket for a proprietary rail section. Round tube is sized by outside diameter and wall thickness, and ISO 1127 covers stainless steel tube diameters, tolerances and conventional masses within its dimensional scope only; it says nothing about railing load capacity, finish or weld quality. A saddle nominally made for the same diameter can still sit loose or proud if the tube’s actual tolerance class differs, so measure the rail you are buying rather than the one the catalog assumes.
The attachment between saddle and rail is a separate decision from the shape match. The rail may be set into the saddle and welded, through-bolted, grub-screwed, or fixed with a concealed connector. Each of those changes what has to be reachable at installation and what shows on the finished rail. A common specification error is to confirm the saddle radius against the tube and then leave the rail-to-bracket fixing to be resolved on site, which pushes a visible detail into the hands of whoever happens to be holding the rail.
Where the bracket and rail are supplied as a proprietary matched assembly, the fit question narrows, but it does not disappear. Check the assembly against its actual documented configuration, because matched sets are usually matched to one rail section and one connector arrangement, not to every rail the project might substitute later.
Check pitch changes and available adjustment
Show the required angle, the direction of the turn and the available adjustment on the drawing before deciding between a fixed and an adjustable bracket. A top-mount bracket at a stair, ramp or grade break has to accept the rail at the slope it arrives at, and a level-run bracket cannot be assumed to do that simply because the rail looks similar.
The functional difference is where the geometry is set. A fixed bracket holds the saddle at one angle to the support, usually perpendicular, so the rail leaves the post at that angle and nowhere else. An adjustable bracket introduces a pivot, swivel or rotating saddle that lets the rail take up a range of angles relative to the mounting base. That flexibility is bounded in two ways people often conflate: the range, meaning how many degrees of travel the joint has, and the axis, meaning which plane that travel occurs in. A bracket that pivots along the run of the rail handles a stair pitch; it does nothing for a rail that also turns in plan at a landing newel.
So a bracket described as adjustable, with no stated range or axis, leaves the usable direction unknown. The deciding information is the supplier’s documented adjustment range and the plane it acts in, read against the measured pitch on your section drawing. Where the site condition sits outside those named limits, the answer is a different detail rather than forcing the joint; an over-rotated adjustable bracket loses contact area in the saddle and shifts the load into the pivot hardware.
Two measurements make this conversation short. Give the rail pitch as an angle or as a rise and run taken from the actual stair, and give the plan geometry at each transition point. For stairs, ramps and uneven supports, the comparison between fixed and adjustable hardware turns on exactly those two figures and on whether the transitions repeat enough to justify one adjustable type throughout.
Define the bracket-to-support connection
| Vérifier | Informations à afficher | Decision it supports |
|---|---|---|
| Support profile | Actual post-top or supporting-member profile | Whether the bracket matches the intended support |
| Support wall thickness | Wall thickness of the supporting member | Whether the attachment detail addresses the actual supporting member, beyond its visible top dimension |
| Connection access | Access available to make and inspect the attachment | Whether the proposed attachment can be made and inspected in that location |
| Load-transfer detail | Intended connection method and the party confirming capacity | Whether the assembly has a defined load-transfer detail for capacity confirmation |
A top dimension that matches is not a defined connection; the connection is defined when the support profile, its wall thickness, the access available to make and inspect the fixing, and the intended load-transfer detail are all stated. Each of those four answers a different question, and a bracket can pass one while failing another.
Consider a square stainless post with a bracket base plate that matches the post’s outside dimensions exactly. The visible fit is perfect. If the post wall is thin, a threaded fixing into that wall may have little engagement, which changes the connection from a bolted joint into something closer to a sheet-metal fixing. If the post is already welded in place and closed at the base, there may be no way to get a nut, backing plate or inspection tool inside it. And if nobody has stated whether the load passes through the base plate fixings, through a welded collar, or through an internal core that the bracket threads onto, then the assembly has no load-transfer detail to confirm capacity against.
Railing assemblies carry guard and handrail loads, and ASTM E985-24 covers permanent metal guardrails, stair rails, ramp rails and handrails for buildings, including basic design and load and deflection criteria within its public scope; field-specific criteria remain project responsibilities. Capacity of a particular bracket on a particular post in a particular substrate is a structural question, not a catalog question. Name the party who confirms it — the project engineer of record, or whoever the approved submittal process designates — at the same time as you name the connection method, so the detail does not arrive at fabrication with the responsibility unassigned.
Access deserves its own look because it is easy to lose in a plan view. Decide where the installer’s hand and tool go, whether the fixing is made before or after the rail is set into the saddle, and whether the completed joint can be seen for inspection. A connection that can only be made with the rail already in position, and can only be checked by removing it again, is a sequencing problem disguised as a hardware choice.
Preserve the rail path and gripping clearance
Review the bracket on a section and an elevation together, because the question is not whether the bracket is compact but whether the hand can pass along the rail without interruption. A top-mount connection that projects upward or outward toward the gripping surface can break continuity even when the bracket body itself is small.
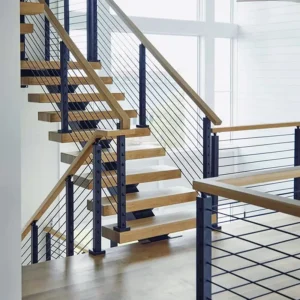
On a section, check the clear space between the rail and anything the hand would meet: the bracket shoulder, a fixing head, the post top, an adjacent wall or stringer. On an elevation, follow the rail the whole way, through the starting newel, the pitch change at each landing, the turn, and the extension at the top and bottom of the flight. Clashes tend to appear at transitions, where a bracket sized for the straight run meets a connector or an elbow and the two occupy the same space.
For covered means-of-egress stairs, the Access Board’s guide to stairways addresses handrail continuity, gripping surfaces, clearance and extensions, within U.S. accessibility and covered-facility scope. Which dimensions apply depends on jurisdiction and on whether the facility and use are covered, so confirm coverage and the adopted requirements before fixing the bracket geometry rather than after. Where a bracket detail would conflict with a continuity or clearance requirement that applies to the project, that is a design decision for the specifier, not something to resolve by trimming the bracket on site.
One practical habit helps here: draw the hand. Sketching a grip envelope around the rail on the section makes an obstruction visible far faster than reading bracket dimensions in isolation, and it shows immediately whether a projecting fixing sits inside or outside the space the hand needs.
Issue the assembled interface and finish requirements
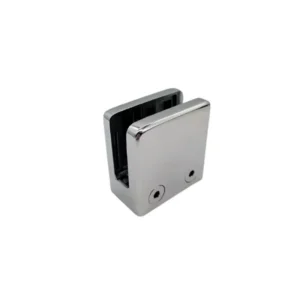
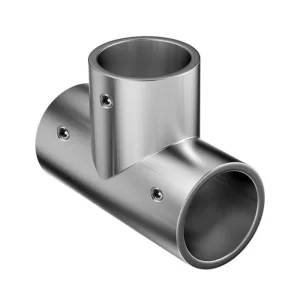
Send one keyed interface drawing that carries the rail profile, the support profile, the bracket orientation, the connection method and the finish reference, and state on it who confirms structural capacity. With that drawing, a supplier can check the assembly you intend to build; with a description and a catalog number, the likely outcome is a bracket that resembles the one in the photograph and interfaces with something slightly different.
Finish needs its own definition because the bracket and the rail often come from different fabrication processes. A polished tube and a cast or machined bracket take finish differently, and a welded saddle joint leaves a heat-affected area that has to be dressed and restored to match. So define the finished contact surfaces, the fastener finish, and the scope of any weld-area restoration before anyone signs off on appearance, since a finish sample for the rail alone describes the rail and not the joint. Where the supplier offers a fully documented matched finish process across rail and bracket, that coordination collapses into one reference, which is the simpler path when the project allows it.
Grade and exposure belong on the same sheet. Coastal and exterior work changes which stainless grade and surface condition are appropriate, and mixed finishes at a bracket joint are also mixed surfaces for corrosion, so state the specified grade and finish for both parts rather than for the rail alone. ESANG’s top-mount handrail bracket range is configured against measured rail and support profiles, which is why the drawing matters more than the part number.
Have these ready before the bracket package goes out: the measured rail section with outside dimension and wall thickness; the support profile and its wall thickness; the pitch and plan geometry at every transition; the proposed fixing method with the access available to make and inspect it; the clear section through the gripping surface; the stainless grade and finish for rail, bracket and fasteners; and the named party confirming capacity. Carry the same keyed drawing into the project submittal set so the bracket interface, the material certificates and the finish sample all describe one assembly rather than three separate purchases.
Questions fréquemment posées
Q : Can I choose a replacement top-mount bracket from the existing rail diameter and a photograph?
A : Those details are not enough to confirm the connection. Record the actual rail section, mating saddle or connector shape, supporting-member profile and attachment method. If the rail belongs to a proprietary assembly, check its documented configuration before treating a visually similar bracket as interchangeable.
Q : Does choosing an adjustable bracket mean I can leave the stair angle unresolved until installation?
A : No. Show the required rail angle and bracket orientation before selection, then check that the particular bracket’s adjustment direction and limits cover them. An “adjustable” description alone does not establish that it accommodates the intended transition; a condition outside its documented limits needs a different detail.
Q : If the bracket fits both the rail and the post, is the assembly ready for capacity approval?
A : No. Dimensional fit leaves the load-transfer connection unresolved. Provide the actual support wall thickness, attachment method and access for making and inspecting the connection, and identify who will confirm capacity for that assembly. A tube dimensional standard does not establish railing load capacity or project compliance.
Q : Can I approve the bracket separately while the stair rail layout is still changing?
A : Keep approval conditional until the bracket is checked within the complete rail path. Review a section and elevation showing transitions, adjacent construction and projections toward the gripping surface. A bracket that fits locally may still clash or interrupt the intended handrail path when the layout changes.
Q : Is an approved rail finish sample enough to confirm how the bracket joint will look?
A : No. Define the assembled joint’s finish requirements as well, including finished contact surfaces, visible fasteners and any weld-area restoration. Where the bracket and rail use different finishes or fabrication processes, the rail sample alone leaves the joint’s appearance and treatment scope unresolved.