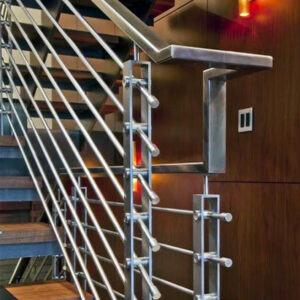
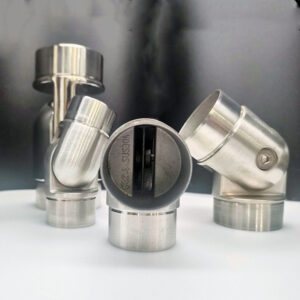
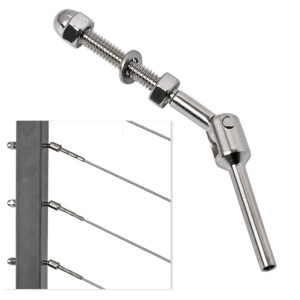
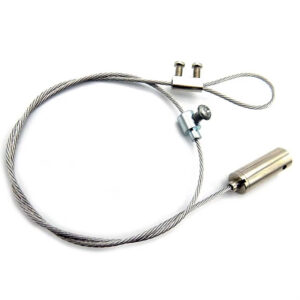
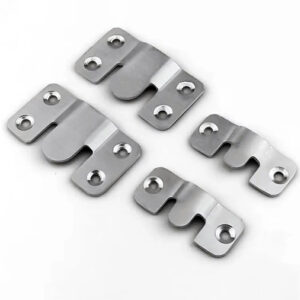
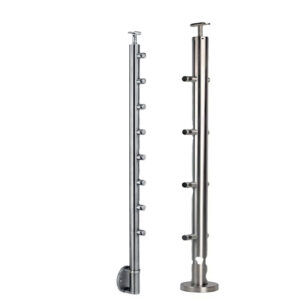
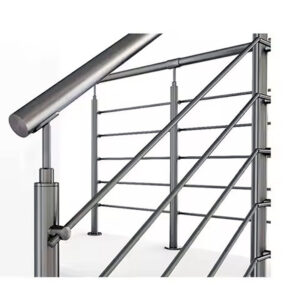
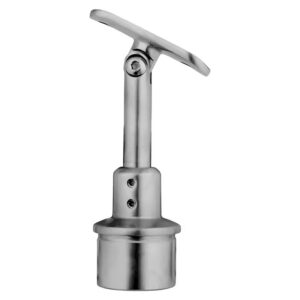
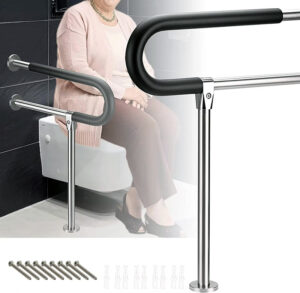
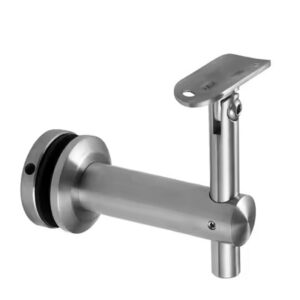
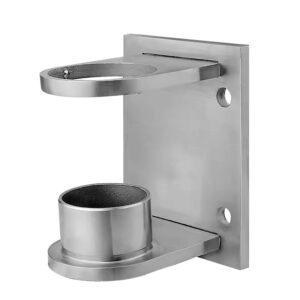
A bracket that looks right from a sample can still produce loose anchors, deformed arms, or a grip profile that fails ADA review—not because the fabrication was poor, but because the original design assumptions never traveled with the part. The cost surfaces late: rework at installation, substrate repairs when backing wasn’t confirmed, or a rejected submittal that holds up an entire stair run. Getting the bracket right means working through a specific sequence of inputs before geometry is fixed, and making the tooling and approval decisions that protect both repeat programs and project-volume supply.
Bracket Inputs Beyond Shape and Finish
Bracket geometry is the visible part of the decision. The less visible part is the set of conditions that determine whether that geometry works at all—and missing any one of them in the design brief often produces a part that fits the drawing but fails the installation.
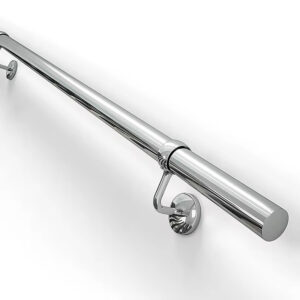
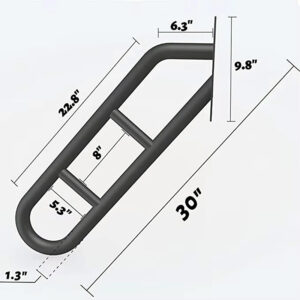
Mounting substrate is the starting point. A bracket intended for a wood-stud wall, a glass panel, or a steel post requires a different base configuration, a different fastener strategy, and often a different backing arrangement. Arm length follows directly from substrate: the bracket must project far enough to achieve the minimum 1.5-inch clearance between the wall surface and the handrail face, which is a threshold commonly cited in US building code guidance. A short arm that satisfies visual proportions but lands the rail too close to the wall creates a clearance violation that no finish adjustment can correct.
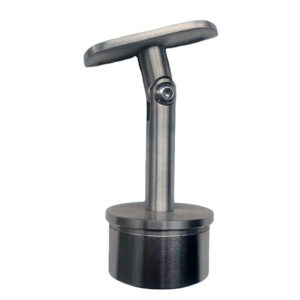
Rail tube diameter is a tolerance-sensitive input that occasionally gets treated as obvious and skipped in the brief. It is not obvious when ordering across product families: brackets are typically listed for specific ODs such as 1-1/2″ or 1.66″, and a grip sized for one dimension will not seat firmly on the other. Fastening orientation—whether the bracket mounts through a lateral face or a flat base—affects both the bracket’s internal geometry and the installer’s access to fastenings during assembly. Adjustability matters when the wall or substrate is not perfectly plumb or when stair rake angles require field compensation; a stiff bracket on an uneven substrate either forces a shimming solution or transfers a moment load the arm was not designed to carry. Material grade is a long-term decision: AISI 316 is the recommended choice where coastal salt air or chemical exposure is a realistic condition, not simply a premium finish option.
Code-based spacing sets the upper boundary on bracket frequency: US practice typically requires brackets at no more than 4 feet on center, with a bracket within 1 foot of each handrail end. These values function as design thresholds, not suggestions—exceeding them can produce a submittal rejection that requires re-specification and additional fabrication before the run can proceed.
| Input Parameter | Typical Options / Requirement | Why It Matters for Custom Design |
|---|---|---|
| Mounting Substrate | Wall, glass, post | Determines bracket base, fastener type, and backing needs |
| Arm Length / Projection | Short, long; affects clearance | Must achieve minimum 1.5 in wall-to-handrail clearance |
| Rail Tube Diameter | e.g., 1-1/2″, 1.66″ | Bracket grip must match rail OD for secure fit |
| Fastening Orientation | Lateral fastening vs flat surface | Alters bracket geometry and installation access |
| Ajustabilidad | Pivotable vs stiff | Affects mounting flexibility and load transfer |
| Calidad del material | AISI 304 or 316 | 316 strongly preferred for coastal/corrosive environments |
| Code Spacing & End Distance | Max 4 ft OC; max 1 ft from ends | Non-compliance risks rejection and rework |
Each parameter in that table represents a decision that, if deferred, becomes a coordination problem at a later stage—one that is progressively more expensive to resolve.
Failures From Copying an Unverified Sample
Copying a physical sample is a faster brief than writing one. It is also a way of importing every assumption the original designer made about load, wall type, substrate, and application—none of which are visible in the part itself.
The failure pattern is consistent: the copied bracket is made to match the visual, the finish, and the general form of the original, while the structural and code context that made the original appropriate for its specific installation is ignored. When the copied bracket reaches a different wall condition—hollow metal stud instead of solid stud, a thicker substrate, a higher traffic stair—the gap between assumed load and actual load produces deformation or inadequate anchorage that wasn’t predictable from the sample’s appearance.
Two application mismatches are worth flagging specifically. A bracket designed for a residential handrail application may explicitly not be rated for commercial foot rail loading or for conditions where standing on the rail is possible. Treating it as interchangeable with a heavier-duty bracket because it looks similar introduces a load classification error. The second mismatch involves grip profile: a pinch grip handrail may satisfy an aesthetic preference but does not meet ADA handrail grip safety requirements, which require a power grip profile. If the sample being copied is a pinch grip, reproducing it for a code-regulated installation simply carries the non-compliance forward into production.
Wall construction is the most common omission in visual copy exercises. Without knowing what backing the original bracket relied on, or whether at least two fasteners engaged structural members rather than finish surfaces, clearance and anchor capacity assumptions may not be reproducible in the target installation.
| Red Flag When Copying | Por qué es importante | Qué confirmar |
|---|---|---|
| Assuming the bracket can carry foot rail or standing loads | The sample was not designed for those loads; bracket failure possible | Verify intended load classification and manufacturer limits |
| Using a pinch-grip profile as an ADA handrail | Pinch grip does not meet ADA handrail grip safety requirements | Confirm the grip type is a power grip that satisfies ADA |
| Copying without verifying wall construction and backing | Can produce loose anchors or insufficient stud engagement | Check wall type, stud location, and that at least 2 screws hit a stud |
| Ignoring projection and clearance differences | May violate the minimum 1.5 in wall-to-handrail space | Measure actual projection and wall offset against code |
The practical implication is that a sample can only define geometry. It cannot define performance unless the load assumptions, substrate conditions, and code context travel with it as documented inputs to the new design brief.
Tooling Investment Versus Fabricated Project Supply
The tooling decision is often made too early or based on the wrong variable. Volume is the obvious driver, but repeatability requirements and batch consistency matter just as much, particularly in programs where the bracket appears across multiple installations under the same specification.
Machined or cast custom brackets carry an upfront tooling investment that is recovered across repeat production runs. The return on that investment is dimensional consistency from batch to batch—tolerances held to the same standard whether the program ships 50 units or 500. For OEM programs where the bracket is a permanent part of a recurring product, that consistency reduces the risk of variation-driven fit problems in the field. The tooling cost is a one-time entry point to a controlled geometry; fabricated brackets require per-unit labor to achieve the same result, which scales unfavorably at volume.
Fabricated brackets occupy a different trade-off position for project-specific supply. When quantities are in the range where tooling amortization is impractical—and when the bracket geometry is unlikely to repeat across future work—fabrication avoids a capital commitment that never pays back. The risk is batch-to-batch dimensional variation, particularly on bent or welded assemblies where consistent angle, projection, and grip-face alignment depend on fixturing quality rather than a hard tool. For a project where submittal approval is based on a specific sample, variation between the approved sample and production units is a rejection risk that fabricated supply manages through process discipline rather than tooling control.
The threshold between these approaches is not a fixed unit count. It depends on what level of dimensional tolerance the installation requires, whether the design is likely to repeat across future programs, and whether the client’s submittal process will flag production variation. Projects where the bracket is reviewed against a pre-approved physical sample put a higher consistency demand on fabricated supply than projects where only finish and general configuration are reviewed.
Coordination of Bracket Backing and Anchor
The bracket, the backing or blocking, and the anchor fastener are often specified by different parties at different points in a project. That fragmentation is a reliable source of field problems, because each party assumes the others have resolved the interface—and frequently no one has.
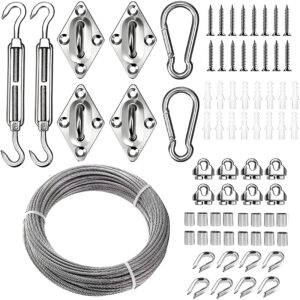
Thread mismatch is the simplest failure: if the bracket’s fastener hole is tapped for one thread series and the specified anchor is a different thread, the connection cannot be made without field modification. Anchor products are not interchangeable across thread sizes—a system that includes 1/4″-20, 5/16″-18, and 3/8″-16 anchor options requires explicit coordination between the bracket specification and the anchor specification before either is ordered. That coordination needs to happen in the drawing or specification phase, not during installation.
Substrate verification is the second coordination gap. An anchor appropriate for solid wood stud framing may not perform adequately in a hollow metal wall or a masonry substrate. Manufacturer guidance for typical wood-stud installations often requires at least two fasteners to engage a stud rather than the finish layer alone—a practical load distribution criterion, not a universal code prescription. When backing is absent or the bracket base spans between studs without a plate that distributes load, point loading concentrates at individual fasteners in a way that affects long-term anchor stability.
Adaptor plates and backing plates address these gaps, but they add a fabrication element that is easy to drop from a bill of materials when the bracket itself is specified separately from the substrate preparation work. ASTM E894-88 provides a performance-based framework for evaluating railing anchorage that can be useful for framing what a verified connection is expected to resist—but the specific coordination decisions (thread match, stud engagement, backing inclusion) require project-level coordination, not just reference to a standard.
| Falta de coordinación | Typical Risk if Unresolved | What to Confirm Across Specs |
|---|---|---|
| Thread size mismatch between bracket and anchor | Bracket cannot be fastened; field rework and delays | Match bracket thread to anchor thread (e.g., 1/4″-20, 5/16″-18, 3/8″-16) |
| Anchor type not verified against substrate | Pullout or inadequate capacity | Confirm substrate can accept specified anchor; min 2 screws into a stud |
| Missing backing or adaptor plate | Uneven load distribution, point loading | Check whether a flat adaptor plate or separate backing is required and included |
The value of early cross-checking across all three components—bracket, backing, and anchor—is that it turns a set of independent procurement decisions into a verified connection assembly before anyone reaches the installation phase.
For installations where wall mounting conditions vary across locations, soportes de pasamanos de pared ajustables introduce additional coordination considerations around pivot range, load transfer at angle, and how adjustment interacts with the anchor pattern.
Representative Connection Approval Before Production
Production release based on a drawing alone carries a specific risk in custom bracket programs: the drawing confirms geometry, not fit. The bracket may be dimensionally correct and still not seat properly on the actual rail section, may not align with the existing anchor pattern, or may require a projection adjustment that was not apparent until the part met the real substrate.
The practical risk-reduction step is a sample that mates the actual rail profile to a representative substrate connection before production quantities are committed. This is not a compliance requirement from a specific standard—it is a project-stage quality check that resolves the fit and load-path questions that a drawing cannot answer. What the sample proves is whether the grip diameter is correct, whether the arm projection delivers the required clearance, whether the fastener pattern aligns with available stud or backing positions, and whether the finish and material grade match the approved submittal.
The timing of this check matters. Approving production after a sample that was fitted to a mock-up or a different rail profile defers the same verification to the installation phase—which is the most expensive point at which to discover that the bracket needs modification. When the substrate varies across installation locations (different wall finishes, different stud spacing, different projection requirements at landings versus mid-run), a single representative connection may not cover all conditions. In those cases, identifying which conditions vary and whether the same bracket serves all of them, or whether a second configuration is required, is a question that should be resolved before tooling or fabrication is released, not after.
For programs where bracket selection relative to wall condition and projection is still being worked through, the guidance in Selección de Soportes de Pasamanos: Qué trayectoria de carga de proyección y condición de la pared cambia el tipo de soporte correcto addresses the upstream decision inputs that set up a sound representative sample.
A custom stainless steel handrail bracket program succeeds or fails on decisions made well before fabrication: the input brief that defines substrate, projection, rail diameter, and material grade; the tooling choice that matches volume and repeatability requirements; and the coordination check that confirms the bracket, backing, and anchor form a complete, thread-matched connection assembly. Each of those decisions has a downstream consequence—in submittal review, in installation, or in long-term anchor performance—that becomes harder to correct as the project advances.
Before releasing production, confirm that the approved sample was fitted to the actual rail section and to a substrate representative of the most demanding installation condition in the project scope. If backing, adaptor plates, or stud engagement requirements were not explicitly resolved in the specification, that coordination gap should be closed at the sample stage—not discovered when the anchor pattern doesn’t land where the bracket assumes it will.
Preguntas frecuentes
Q: Can I skip custom bracket development and use an adjustable off-the-shelf bracket instead?
A: In some cases, yes—but only when the loads, projection range, and code requirements fall within the bracket’s rated capacity. Adjustable brackets solve moderate wall unevenness or angle variation, but they do not compensate for wrong rail diameter, insufficient load rating, or missing backer engagement. If your installation carries commercial foot traffic, demands a specific grip profile for ADA compliance, or must meet a precise clearance and anchor pattern that an adjustable bracket cannot guarantee, a custom or semi-custom design remains the safer path.
Q: What information should I compile before asking for a custom bracket quote?
A: Start with a brief that specifies the rail tube outer diameter, the required projection to achieve at least 1.5 inches of wall-to-rail clearance, the mounting substrate and its thickness, whether the bracket will fasten laterally or to a flat surface, the preferred material grade (AISI 304 or 316), the finish, and the approximate quantity. Add any known limitations: stud locations, anchor thread sizes already approved, and whether the bracket must accommodate a stair rake angle. The more of these fields you lock in up front, the less likely the quote will require multiple revisions.
Q: Do the stud engagement and anchor guidelines change if I’m mounting to concrete or masonry?
A: Yes, entirely. Wood-stud rules—such as engaging at least two fasteners into solid framing—do not transfer to concrete or masonry. Those substrates require anchors appropriate for the material (wedge anchors, sleeve anchors, or epoxy-set threaded rod) and the base plate must be designed to distribute pull-out forces across the substrate’s failure cone. The bracket’s fastener pattern, edge distance, and embedment depth all become critical, and a backing plate is often needed to bridge uneven or hollow block surfaces. Treat the substrate change as a separate engineering point, not a simple fastener swap.
Q: Is it more reliable to source the bracket, backing, and anchors as a matched set from one manufacturer?
A: Generally, yes. A single-source set reduces the most common coordination gap: mismatched threads between the bracket’s tapped hole and the anchor, or a base footprint that does not align with the available backing. When all three components are supplied together, the manufacturer takes responsibility for verifying that the assembly forms a complete, load-rated connection. If you must source them separately, specify the thread standard and length on the bracket drawing, confirm stud or blocking positions on the substrate drawing, and require a coordination submittal that shows the complete assembly before any part is ordered.
Q: Is the full custom bracket process worth it for a small project with only 10 to 20 units?
A: It depends on what you are rejecting by not going custom. If a stock bracket meets the rail diameter, clearance, load, and code requirements, a small project may not justify custom work. If the project demands a unique finish, geometry, or load path that no stock part satisfies, a low-volume fabricated bracket program (without tooling investment) makes sense, and the verification steps this article describes—checking substrate, anchor coordination, and a representative sample fit—are still essential to avoid the cost of rework that quickly erases the savings of using a “close enough” part.